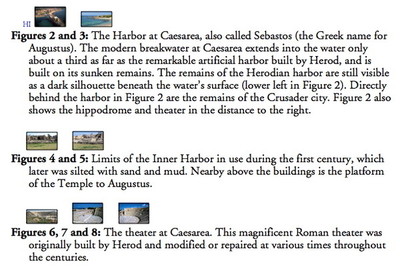
In the past few posts, I’ve been describing a bunch of new Accordance tools from Zondervan and Carta, all of which are heavily illustrated. As I’m sure most of you know, the images in an Accordance tool module are displayed as a thumbnail which you can click to see the full-sized image. What you may not know is that you can adjust the size of these thumbnails in the Preferences. Personally, I prefer the largest thumbnail size, because I can make out most of the image’s details without having to click to enlarge it. Unfortunately, Accordance defaults to using a smaller thumbnail size, so if you’ve never messed with the settings, you’ve been looking at smaller thumbnails which almost require you to click.
We’re going to rectify that in the next update to Accordance by making large thumbnails the default . . . for new users. We don’t dare change the setting for existing users because you may deliberately have chosen smaller thumbnails and we don’t want to mess that up. So if your tools are showing small thumbnails and you want to make them larger, I’m going to show you how right now.
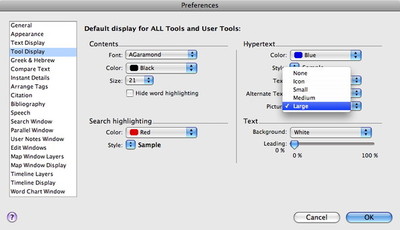
Fortunately, it’s incredibly simple to do. Just select Preferences from the Accordance menu. In the list to the left of the Preferences dialog, select Tool Display. These settings let you customize the look of all your Accordance tools in one fell swoop. Just choose Large from the Picture pop-up menu to the right of the window and click OK.
If you have any tools open, Accordance will ask if you want to apply the change to those open tools. Just click Apply.
Now all your Accordance tools will display large thumbnails of your images, and you’ll find it easier to see what each image contains before you decide whether or not to examine it more closely.


