This is the last in a series of posts on using Accordance’s Slide Show feature. Part 1 explored how to set up a workspace with separate tabs for each Bible passage you plan to cover. Part 2 showed how to add a map. Part 3 demonstrated how to add a series of images from a resource like the PhotoGuide. Finally, Part 4 showed how to use the Search All window to search your entire library for just the right graphic. Once all the pieces of your slide show are assembled, all that’s left to do is to present it. In this post, I’ll explain how to do that.
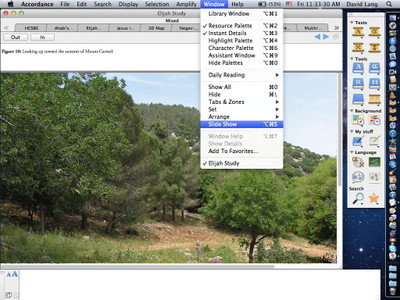
Remember that the Slide Show feature takes every tab in a workspace and turns it into a separate “slide.” The one caveat is that the workspace must have a single zone, so while preparing your workspace, you may need to drag the title bar of one zone into the tab area of another, thus combining all the tabs in a single zone. When finished, your workspace should look something like this:
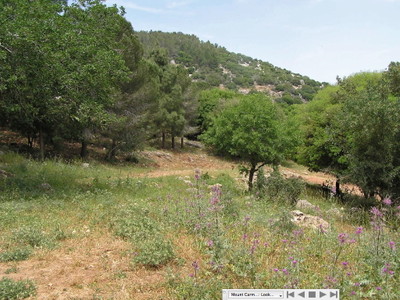
To start the Slide Show, simply select Slide Show from the Window menu, or use the keyboard shortcut command-option-S. Accordance’s palettes, search interface, as well as the OS X dock will all be hidden and the current tab’s contents expanded to fill the screen. Like this:
A small slideshow control palette will fade in and out as you mouse over its location at the bottom of the screen. This palette includes buttons to go to the first slide, the previous slide, the next slide, or the last slide. The stop button will stop the Slide Show and return Accordance to normal operation. You can also press the escape key on the keyboard to exit the slide show, or use the command-option-S shortcut again.
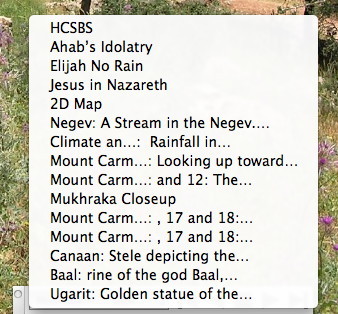
In addition to these controls, the Slide Show palette also includes a pop-up menu listing the name of every “slide.” You can quickly move to the slide you want, no matter where it appears in the sequence, by selecting its name from this menu.
To make it easier to find the slide you want from this menu, it’s always helpful when preparing a slide show to rename tabs to reflect their actual content. You can do that by control- or right-clicking the tab and choosing Active Tab Name… from the Set Tab submenu of the contextual menu.
When in Slide Show mode, the Instant Details box will appear whenever you mouse over an item with more information to display. Thus, when showing Bible text, you can mouse over a word in a Key number Bible to show its Greek or Hebrew equivalent. When showing an Atlas map, you can mouse over any point to show its elevation and coordinates. When you move your mouse off of this kind of content, the Instant Details box will once again fade away.
If you haven’t used Accordance’s slide show mode in a teaching environment, you really should give it a try. While it does not offer the effects and transitions you get with dedicated presentation software like Keynote, it has the advantage of offering dynamic Bible study-related tools in an attractive, full-screen view.


